Table of Contents
ToggleVoice-controlled lighting isn’t science fiction anymore, it’s a weekend project. A Google smart light switch replaces a standard wall switch and connects to a home’s Wi-Fi network, letting homeowners control lights with voice commands, smartphone apps, or traditional manual switching. No smart bulbs required. The switch itself handles the intelligence, which means any standard bulb works. This guide walks through what these switches are, why they’re worth installing, which models stand out in 2026, and how to wire one safely. Whether someone’s retrofitting a 1970s ranch or upgrading new construction, the process is straightforward for anyone comfortable working with basic electrical wiring.
Key Takeaways
- A Google smart light switch replaces your standard wall switch and connects to Wi-Fi, enabling voice control, remote smartphone access, and automation without requiring smart bulbs—any standard bulb works.
- Most smart light switches require a neutral wire in the switch box to function properly, though newer models like Lutron Caséta use proprietary wireless protocols and work without a neutral, making them ideal for older homes.
- Top models for 2026 include Lutron Caséta (hub-based, no neutral needed), TP-Link Kasa (Wi-Fi, $20-30), Leviton Decora (commercial-grade), and GE Cync (budget-friendly), each with different feature sets and compatibility.
- Installation requires turning off power at the breaker, identifying and correctly connecting line, load, neutral, and ground wires, and securing connections with wire nuts—safety and proper wiring are essential to avoid electrical hazards.
- After installation, connect the switch to 2.4 GHz Wi-Fi through the manufacturer’s app, link it to Google Home, and assign it to rooms to enable voice commands and create automation routines for lighting control.
- Common issues like flickering lights, Wi-Fi connectivity problems, and unresponsive voice commands can usually be resolved by verifying bulb compatibility, checking 2.4 GHz signal strength, and rebooting the switch and router.
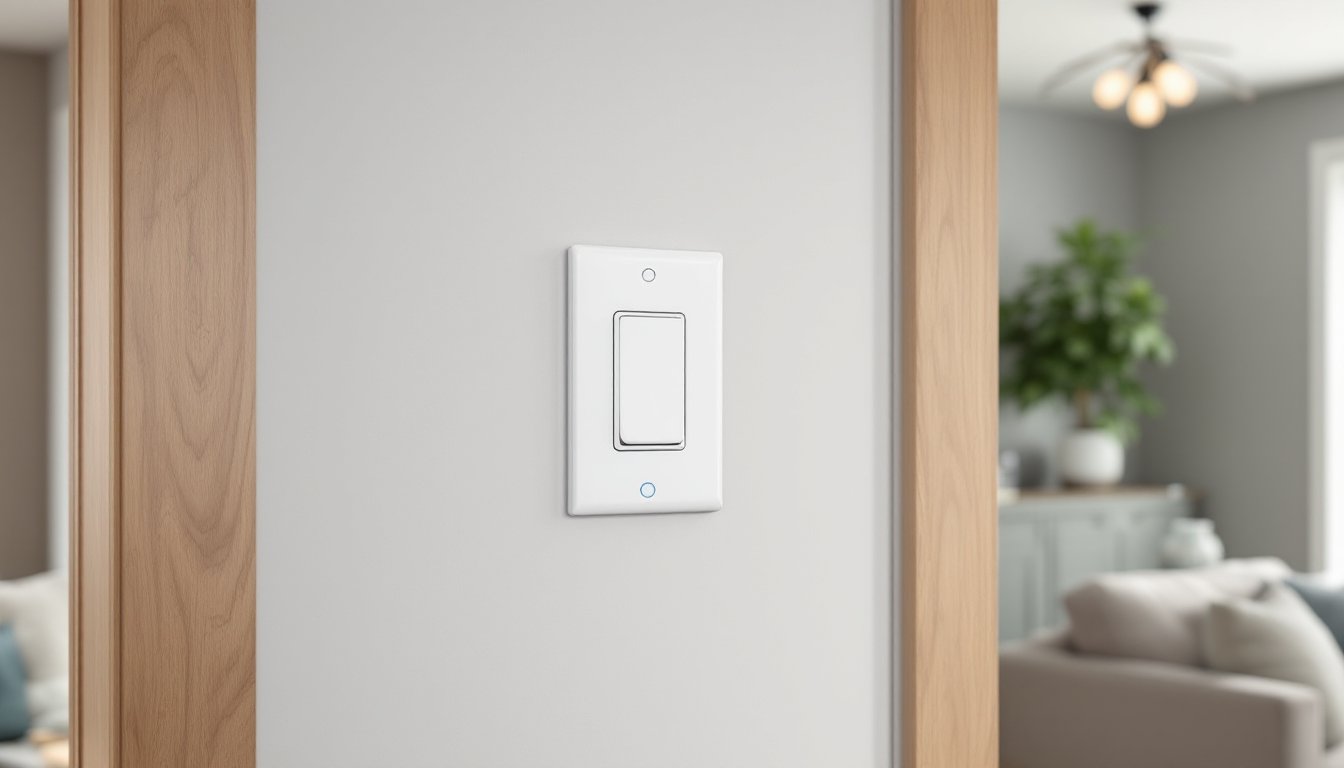
What Is a Google Smart Light Switch?
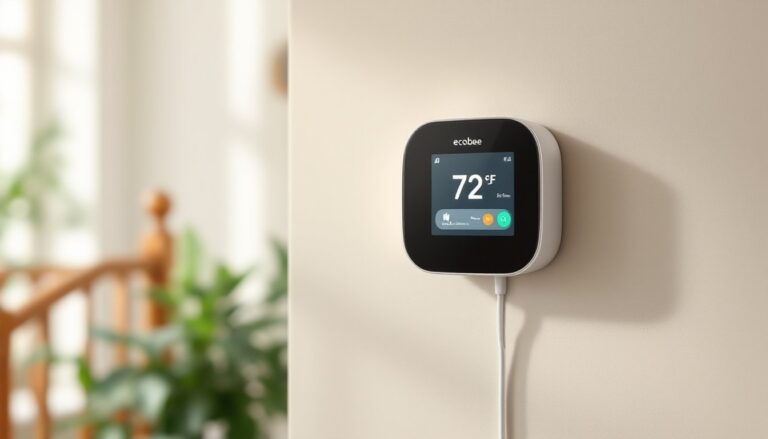
A Google smart light switch is a Wi-Fi-enabled wall switch that replaces a traditional mechanical light switch. It connects directly to a home’s wireless network and integrates with Google Home and Google Assistant, enabling voice control, remote operation via smartphone, and automation through routines.
Unlike smart bulbs that require each bulb to have built-in electronics, a smart switch controls power at the wall. This means standard incandescent, LED, CFL, or halogen bulbs all work. The switch cuts or restores power to the fixture, just like a conventional switch, but adds connectivity.
Most models require a neutral wire in the switch box, which wasn’t always standard in homes built before the 1980s. The neutral (typically a white wire bundled in the back of the box) completes the circuit so the switch can stay powered even when the light is off. A few newer models use capacitive coupling or battery backup to work without a neutral, but those are less common and often pricier.
Physically, these switches fit in a standard single-gang electrical box and usually feature a paddle or rocker design with a small LED indicator. Some include dimming capability, motion sensing, or scheduling features baked into the hardware.
Top Benefits of Installing a Google-Compatible Smart Light Switch
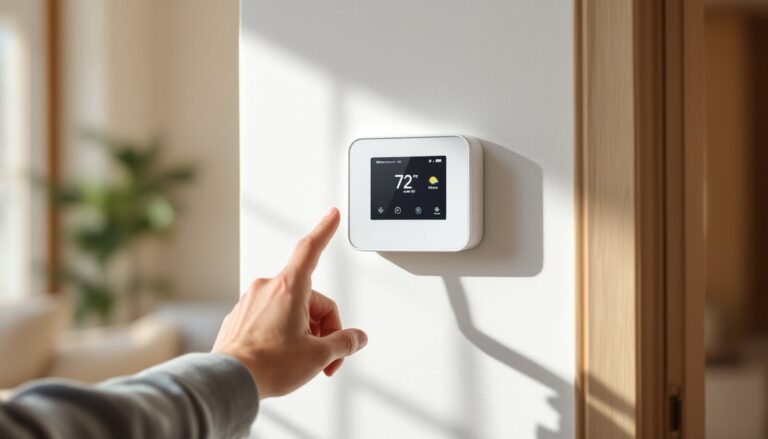
Voice control is the headline feature. Saying “Hey Google, turn off the living room lights” beats fumbling for a switch in the dark or when hands are full. It’s especially useful for people with mobility limitations or for controlling multiple rooms from one spot.
Remote access means homeowners can control lights from anywhere with cell service. Forgot to turn off the basement lights before leaving for vacation? Handle it from the airport. This also helps simulate occupancy when away, a proven deterrent for break-ins.
Automation and scheduling let users set lights to turn on at sunset, dim at bedtime, or follow custom routines. Google Home routines can tie lighting to other smart devices, lights can turn on when a smart lock disengages, or dim when a Chromecast starts playing a movie.
Energy monitoring is available on some models. They track usage patterns and provide data on how much power specific circuits consume, which helps identify energy hogs.
No bulb replacement needed. Once the switch is installed, any bulb works. There’s no need to replace every bulb in a chandelier with expensive smart bulbs. This makes smart switches more cost-effective for fixtures with multiple bulbs.
Retained manual control is a big plus. Unlike smart plugs that get accidentally unplugged, a smart switch stays in the wall and still functions as a normal switch if Wi-Fi drops or the network goes down.
Best Google Smart Light Switches to Consider
The market in 2026 offers several solid options, each with different feature sets and price points.
Lutron Caséta remains a top pick for reliability. It uses a proprietary wireless protocol instead of Wi-Fi, which reduces network congestion but requires a Caséta Smart Hub (around $80-100). The hub connects to the router and bridges the switches to Google Home. Caséta switches don’t need a neutral wire, making them ideal for older homes. The dimmer models handle up to 600W incandescent or 150W LED, and the paddle design is intuitive. Pico remote accessories can be added for three-way switching without rewiring.
TP-Link Kasa switches connect directly via Wi-Fi (2.4 GHz only) without a hub. They require a neutral wire and come in on/off or dimmer versions. The dimmer supports up to 300W LED or 400W incandescent. Setup is straightforward through the Kasa app, then linking to Google Home takes about two minutes. Price is competitive, typically $20-30 per switch.
Leviton Decora Smart switches are UL-listed and built like traditional commercial-grade devices. They’re bulkier but feel solid. Wi-Fi models require a neutral and support 600W incandescent or 300W LED/CFL. Leviton’s dimmer uses a slider rather than a rocker, which some users prefer for fine control. The My Leviton app integrates with Google Home and offers geofencing features.
GE Cync (formerly C by GE) offers budget-friendly switches that work with Google Home natively. They require a neutral wire and are available in single-pole or three-way configurations. The paddle design matches standard Decora-style faceplates. Performance is adequate for basic on/off or dimming, though reviews note occasional connectivity hiccups.
When choosing, verify compatibility with the bulb type (especially with older dimmers and LED bulbs, which can flicker or hum). Check the tested compatibility lists to confirm specific bulb models work with each switch. Also confirm the switch supports the total wattage of the fixture, add up all bulbs if it’s a multi-bulb chandelier or fan light.
How to Install a Google Smart Light Switch (Step-by-Step)
Safety first: Turn off power at the breaker panel, not just the switch. Use a non-contact voltage tester to confirm the wires are dead before touching anything. Wear safety glasses. If the home has aluminum wiring (common in 1960s-70s construction) or if anyone is uncomfortable working with line voltage, hire a licensed electrician.
Tools and materials needed:
- Non-contact voltage tester
- Flathead and Phillips screwdrivers
- Wire stripper/cutter
- Needle-nose pliers
- Wire nuts (usually included with the switch)
- Electrical tape
- The new smart switch
- Smartphone with the manufacturer’s app installed
Step-by-step installation:
-
Turn off the breaker controlling the switch circuit. Flip the existing switch on and off to confirm power is dead, then use the voltage tester on the switch terminals and any exposed wires.
-
Remove the old switch. Unscrew the faceplate, then remove the two screws holding the switch to the electrical box. Gently pull the switch out without touching bare wires yet.
-
Identify the wires. Common configurations:
- Line (hot): Usually black, brings power from the breaker.
- Load: Usually black or red, carries power to the light fixture.
- Neutral: White bundle, often pushed to the back of the box.
- Ground: Bare copper or green, connected to the metal box or green screw.
If there’s only one black and one white wire with no neutral bundle, that’s a switch loop (older wiring). Most smart switches won’t work without a neutral. Lutron Caséta is the exception.
-
Disconnect the old switch. Loosen terminal screws or remove wire nuts, and pull the wires free. Take a photo before disconnecting if the configuration looks complicated.
-
Prepare wires on the new switch. If the smart switch has pigtail leads, strip about 1/2 inch of insulation from each wire in the box. If it has screw terminals, strip about 3/4 inch and form a hook with needle-nose pliers.
-
Connect the smart switch:
- Ground (green or bare copper on the switch) to the ground wire or ground screw in the box.
- Neutral (white on the switch) to the neutral wire bundle using a wire nut. If there’s no neutral, stop and reassess, consider Caséta or hiring an electrician to run a neutral.
- Line/hot (usually black on the switch) to the incoming hot wire (the one that had power when the breaker was on).
- Load (often labeled or a different color) to the wire going to the light fixture.
Some switches have additional wires for three-way configurations or traveler wires, follow the manufacturer’s wiring diagram.
-
Secure connections. Twist wire nuts clockwise until snug, then wrap electrical tape around the base of each nut. Gently tuck wires back into the box, folding them accordion-style.
-
Mount the switch. Align the mounting bracket with the screw holes in the electrical box and drive in the screws. Don’t overtighten, plastic ears can crack. Attach the faceplate.
-
Restore power. Flip the breaker back on. The switch should light up or blink, indicating it’s receiving power. Many models enter setup mode automatically on first power-up.
Code and permit notes: Most jurisdictions allow homeowners to replace switches without a permit, as it’s considered maintenance. But, adding new circuits or moving boxes requires a permit. Always follow National Electrical Code (NEC) guidelines, especially about wire gauge (14 AWG for 15A circuits, 12 AWG for 20A) and box fill calculations. If the box is crowded, it may not accommodate the larger smart switch, code limits the number of wires and devices per box volume.
Setting Up Your Smart Switch with Google Home
Once the switch is wired and powered, the next step is connecting it to Wi-Fi and Google Home.
-
Download the manufacturer’s app (Kasa, My Leviton, Cync, etc.). Create an account if required.
-
Add the switch in the app. Most apps auto-detect new devices on the network. The switch may blink or pulse to indicate it’s in pairing mode. If not, there’s usually a reset procedure (hold the paddle for 10 seconds) to enter pairing mode.
-
Connect to Wi-Fi. The app will prompt for the home network name and password. Smart switches only work on 2.4 GHz Wi-Fi, 5 GHz bands aren’t compatible. If the router uses a combined SSID for both bands, temporarily disable 5 GHz or create a separate 2.4 GHz SSID.
-
Name the switch. Use simple, unique names Google Assistant can recognize: “living room lights,” “kitchen overhead,” “front porch.” Avoid similar-sounding names that could confuse voice commands.
-
Link to Google Home. Open the Google Home app, tap the “+” icon, and select “Set up device” > “Works with Google.” Search for the switch manufacturer (e.g., “TP-Link Kasa”) and sign in with the same credentials used in the manufacturer’s app. Authorize Google to control the devices.
-
Assign to rooms. In Google Home, assign each switch to a room (Living Room, Bedroom, etc.). This lets users say “turn off the bedroom lights” without specifying the exact switch name.
-
Test voice commands. Try “Hey Google, turn on the [room] lights” and “dim the [room] lights to 50%.” If dimming isn’t working, confirm the switch model supports dimming and that dimmable bulbs are installed.
-
Create routines. In the Google Home app, go to Automations > Routines. Set up actions like “Good Morning” (lights turn on at 7 AM) or “Movie Time” (lights dim when Chromecast starts). Routines can incorporate multiple switches and other smart devices.
For those expanding their smart lighting setup across multiple rooms, grouping switches by floor or zone in Google Home simplifies control. Commands like “turn off the downstairs lights” will trigger all switches in that group.
Troubleshooting Common Issues
Switch won’t power on: Double-check the breaker is on and wiring connections are tight. Use a voltage tester to confirm line voltage is present. If the switch still won’t power up and there’s no neutral wire, that’s likely the culprit, verify the switch model doesn’t require a neutral or add one.
Won’t connect to Wi-Fi: Confirm the router broadcasts a 2.4 GHz network and the signal reaches the switch location. Metal electrical boxes and thick walls can block signals. A Wi-Fi extender or mesh node near the switch can help. Also ensure the router’s SSID isn’t hidden and MAC address filtering isn’t blocking the switch.
Google Home can’t discover the switch: Unlink and re-link the manufacturer’s service in Google Home. Make sure both apps are updated. Reboot the switch by turning off the breaker for 30 seconds, then back on.
Lights flicker or buzz: This usually indicates incompatibility between a dimmer switch and LED bulbs. Check the switch manufacturer’s compatibility list for approved bulb models. In some cases, a different LED driver or bulb brand solves it. Using non-dimmable LEDs with a dimmer switch will cause issues, swap for dimmable versions.
Switch is unresponsive or slow: Wi-Fi congestion or a weak signal can cause lag. Check how many devices are on the 2.4 GHz band, routers have device limits. Moving the router or adding a mesh node often fixes this. Also reboot the router and switches periodically.
Voice commands don’t work: Verify the switch is assigned to the correct room in Google Home and the name is easy to pronounce. Avoid names with special characters or numbers. Retrain Google Assistant’s voice model if it’s consistently misunderstanding commands.
Three-way circuit issues: If a light is controlled by two switches, both must be replaced with compatible smart switches or one smart switch and one accessory switch (like a Lutron Pico). Traditional three-way switches use traveler wires that won’t work correctly with a single smart switch. Review the top smart switch options that support three-way configurations, as wiring requirements vary by brand.
Conclusion
Installing a Google smart light switch is a manageable DIY project for anyone comfortable with basic electrical work. The payoff, voice control, remote access, and automation, makes it one of the more practical smart home upgrades. Choose a switch that matches the home’s wiring (neutral wire availability is the big one), verify bulb compatibility, and follow safe wiring practices. Once installed and linked to Google Home, these switches integrate seamlessly into daily routines and offer a level of convenience traditional switches can’t match.