Table of Contents
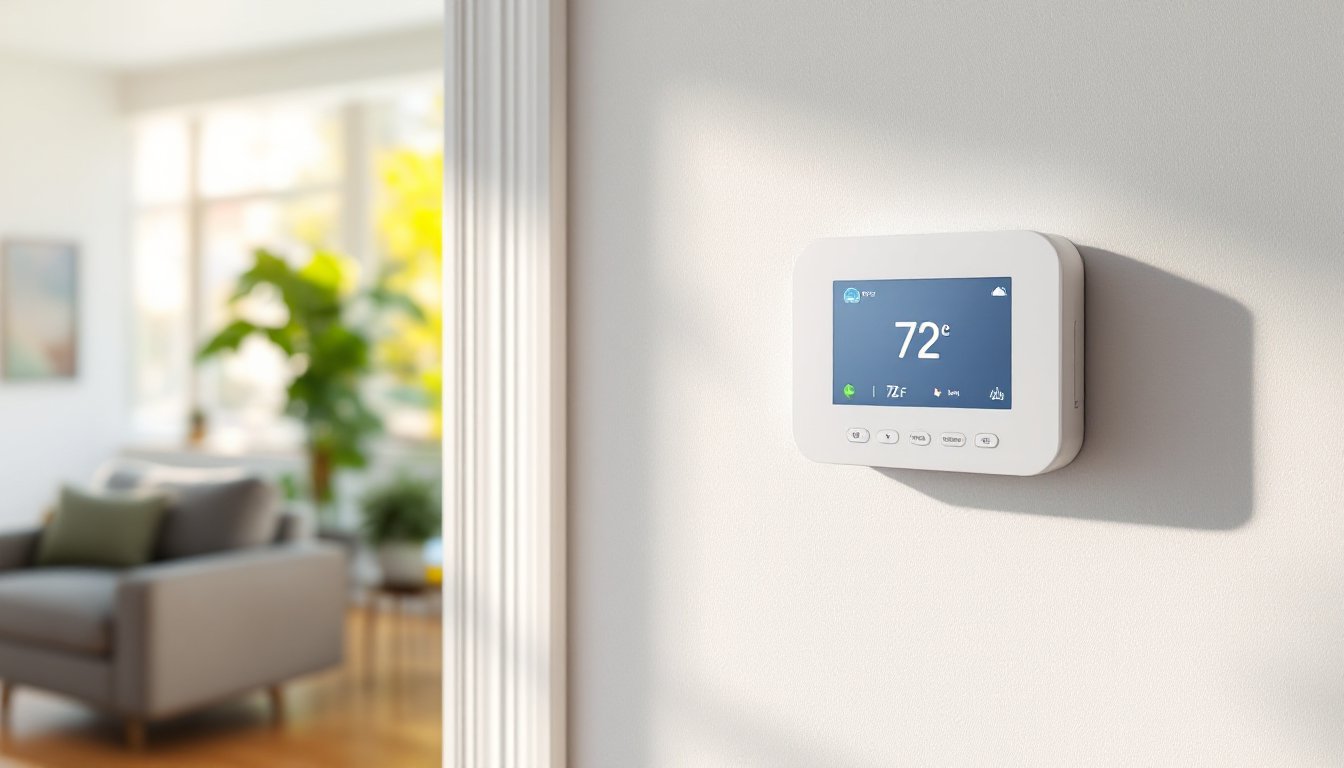
ToggleSmart thermostats have become a cornerstone of energy-efficient homes, and the Energy Star label ensures a homeowner is getting a device that meets rigorous efficiency standards. These programmable, WiFi-enabled thermostats don’t just respond to manual adjustments, they learn household patterns, adjust heating and cooling automatically, and integrate with voice assistants and smart home ecosystems. For anyone tackling a home energy upgrade or looking to cut utility bills without sacrificing comfort, an Energy Star smart thermostat is one of the highest-impact investments available. This guide walks through what makes these devices different, how they deliver measurable savings, what features matter most, and whether installation is a DIY-friendly project or best left to a pro.
Key Takeaways
- An Energy Star smart thermostat delivers at least 8% energy savings compared to non-programmable models, translating to $50–$150 annually for most households, with payback periods as short as 18 months in extreme climates.
- Smart thermostats use adaptive learning, geofencing, and weather data to automatically adjust heating and cooling patterns based on occupancy and behavior, eliminating manual programming and “forgot to turn it down” waste.
- Installation is DIY-friendly for homes with existing C-wire connectivity and standard 24-volt HVAC systems (30–60 minutes), but professional help ($100–$200) is recommended if there’s no C-wire, incompatible systems, or uncertainty about system type.
- Top 2026 models like Nest Learning Thermostat, Ecobee Premium, and budget-friendly Amazon Smart Thermostat offer voice assistant integration, remote sensors, and detailed energy reporting to maximize comfort and efficiency gains.
- Optimizing your Energy Star smart thermostat requires setting reasonable away temperatures (7–10°F setback), combining geofencing with baseline schedules, placing remote sensors strategically, and reviewing monthly energy reports to catch HVAC inefficiencies early.
- Changing HVAC filters on schedule and enabling smart integrations like automated blinds can reduce energy consumption by 10% or more and extend equipment lifespan over time.
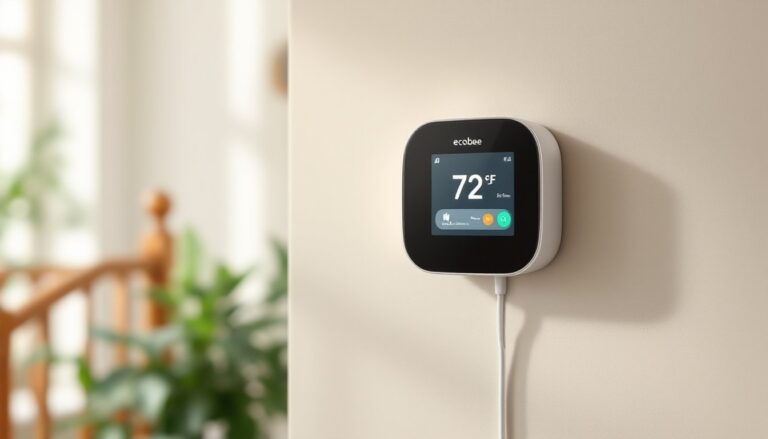
What Is an Energy Star Smart Thermostat?
An Energy Star smart thermostat is a WiFi-connected device that controls a home’s HVAC system and meets the U.S. Environmental Protection Agency’s criteria for energy efficiency. To earn the Energy Star certification, a thermostat must deliver at least 8% energy savings compared to a non-programmable thermostat in independent testing.
These devices go beyond basic programmability. They use algorithms to learn occupancy patterns, adjust temperature setpoints based on actual behavior, and provide remote control via smartphone apps. Many integrate with platforms like Amazon Alexa, Google Assistant, or Apple HomeKit, allowing voice control and coordination with other smart home devices.
The key difference between a standard programmable thermostat and an Energy Star smart model is adaptive learning. A programmable unit runs on a fixed schedule, home by 6 p.m., asleep by 11 p.m., but a smart thermostat adjusts that schedule over time based on motion sensors, geofencing, and weather data. If a homeowner leaves early three Tuesdays in a row, the thermostat starts pre-cooling or pre-heating less aggressively on Tuesday mornings.
Energy Star certification also requires features like maintenance reminders (filter changes, system checks) and energy usage reports, which help homeowners stay on top of HVAC performance and catch inefficiencies before they become expensive failures.
How Energy Star Smart Thermostats Save You Money
The 8% minimum savings threshold from Energy Star certification translates to roughly $50 to $150 per year for an average U.S. household, depending on climate zone, HVAC system efficiency, and local utility rates. In regions with extreme summers or winters, the payback period for a $150 to $250 thermostat can be as short as 18 months.
Smart thermostats achieve savings through several mechanisms:
- Auto-adjust during unoccupied hours: Geofencing uses a smartphone’s location to detect when everyone has left and adjusts temperature setpoints accordingly. This eliminates the “forgot to turn it down” waste.
- Learning algorithms: After a week or two, the thermostat identifies patterns, like weekday versus weekend routines, and optimizes heating and cooling cycles without manual programming.
- Weather-aware scheduling: Many models pull local forecast data and pre-condition the home before a temperature swing, reducing runtime during peak demand hours when electricity rates are highest.
- HVAC runtime reports: Monthly energy reports flag unusual spikes in usage, which can indicate a dirty filter, refrigerant leak, or failing compressor, issues that cost far more if ignored.
Some utility companies offer rebates of $25 to $100 for installing an Energy Star smart thermostat, which further shortens payback time. Homeowners should check their provider’s website or call customer service to confirm eligibility before purchasing.
Key Features to Look for in an Energy Star Smart Thermostat
Not all Energy Star smart thermostats are built the same. Prioritize these features based on the home’s HVAC system and the homeowner’s comfort preferences:
Compatibility with existing HVAC systems: Most thermostats support single-stage and multi-stage heating and cooling, plus heat pumps. Dual-fuel systems (heat pump with gas furnace backup) and older millivolt systems (common in homes with standing-pilot furnaces or wall heaters) may require a specific model or a workaround like an adapter or external transformer. Always check the manufacturer’s compatibility tool before buying.
C-wire (common wire) requirement: Many smart thermostats need a 24-volt C-wire for continuous power. Older thermostats often run on battery power alone and lack this wire at the wall plate. If there’s no C-wire, options include running a new wire from the furnace, using a plug-in adapter, or choosing a model that includes a power extender kit.
Remote sensors: Multi-room homes benefit from wireless remote sensors that monitor temperature and occupancy in bedrooms or other zones. The thermostat averages readings from multiple sensors, preventing hot or cold spots and improving overall comfort.
Geofencing and occupancy detection: Geofencing uses the homeowner’s smartphone location to trigger away and home modes. Occupancy sensors (infrared or ultrasonic) detect motion and adjust settings room by room, which is useful for households with varying schedules.
Voice assistant and smart home integration: Compatibility with Alexa, Google Assistant, or HomeKit allows voice commands and integration with routines, like “Goodnight” scenes that lock doors, dim lights, and lower the thermostat simultaneously.
Detailed energy reporting: Look for models that break down runtime by heating, cooling, and fan usage, and compare monthly performance year-over-year. This transparency helps homeowners spot inefficiencies and justify the investment to skeptical housemates.
Top Energy Star Smart Thermostat Models in 2026
The 2026 market includes several standout Energy Star certified models with proven track records and strong feature sets:
Nest Learning Thermostat (4th Gen): Automatically learns household schedules within a week and features a high-resolution display. Includes remote sensors sold separately, works with Google Assistant and Alexa, and provides monthly Home Reports. Best for homeowners who want a set-it-and-forget-it experience.
Ecobee Smart Thermostat Premium: Ships with one remote SmartSensor and supports up to 32 additional sensors. Built-in Alexa speaker, air quality monitoring, and radar-based occupancy detection. Ideal for multi-story homes or anyone who wants granular zone control without a full zoned HVAC system.
Honeywell Home T9: Focuses on smart room sensors (one included, more available separately). Works with most voice assistants and has a straightforward app interface. A solid mid-range option for homeowners upgrading from a basic programmable thermostat.
Amazon Smart Thermostat: Budget-friendly at around $80, made by Honeywell for Amazon. Requires a C-wire, integrates tightly with Alexa, and qualifies for many utility rebates. Lacks a built-in display (controlled entirely by app or voice), which keeps costs down but may not suit everyone.
Performance varies based on HVAC system type and home layout. Larger homes or those with uneven heating and cooling benefit most from models with multiple remote sensors, while apartments or smaller houses can save money with simpler single-zone options. Reviews consistently show that the best smart thermostats pair advanced algorithms with intuitive interfaces to maximize both comfort and efficiency.
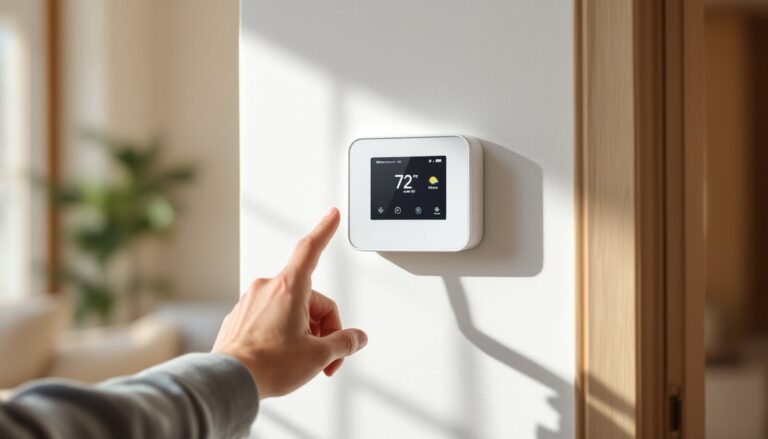
Installing Your Energy Star Smart Thermostat: DIY or Professional?
Installation difficulty depends on the existing wiring and the homeowner’s comfort level with low-voltage electrical work. Most smart thermostat installs are DIY-friendly and take 30 to 60 minutes, but a few scenarios call for a licensed HVAC technician.
DIY Installation
If the home has a standard 24-volt HVAC system with a C-wire already in place, installation is straightforward:
- Turn off power at the breaker or furnace switch. Verify power is off with a non-contact voltage tester.
- Remove the old thermostat and take a photo of the wire connections before disconnecting. Label each wire with the terminal letter (R, C, W, Y, G, etc.) using the included stickers.
- Install the new backplate level on the wall. Use wall anchors if not mounting into a stud.
- Connect wires to matching terminals on the new thermostat base. Most models have a built-in bubble level and wire labels.
- Snap on the thermostat display and restore power. Follow the on-screen setup to connect to WiFi and configure the system type.
Tools needed: Phillips screwdriver, small flathead screwdriver (for terminal screws), drill with 3/16″ bit (if relocating or using anchors), non-contact voltage tester.
When to Call a Pro
- No C-wire present: Running a new wire from the furnace to the thermostat requires accessing the air handler or furnace, fishing wire through walls, and potentially drilling through framing. A technician can do this cleanly and confirm the transformer has capacity for the added load.
- Incompatible or complex systems: Homes with high-voltage baseboard heating, multi-stage heat pumps with auxiliary heat, or proprietary communicating systems (like some Carrier Infinity or Lennox iComfort setups) may need model-specific adapters or simply aren’t compatible with aftermarket smart thermostats.
- Uncertainty about system type: If the homeowner isn’t sure whether the system is single-stage, two-stage, or has a heat pump, a pro can diagnose quickly and avoid misconfiguration that leads to short-cycling or locked-out equipment.
HVAC service calls typically run $100 to $200 for thermostat installation, which includes wiring verification and system testing. That cost is often justified by peace of mind and warranty protection, most manufacturers void warranty claims if a DIY install causes damage.
Maximizing Efficiency: Tips for Optimizing Your Smart Thermostat Settings
Installing an Energy Star smart thermostat is only the first step. Proper configuration and ongoing adjustments unlock the full savings potential:
Set a reasonable away temperature: Don’t let the home drift more than 7–10°F from the target comfort range. Extreme swings force the HVAC system to work harder on return, wasting the energy saved during the away period. A setback to 68°F in winter and 78°F in summer works for most climates.
Use scheduling and geofencing together: Many homeowners rely solely on geofencing, but adding a baseline schedule as a backup prevents surprises if a phone battery dies or someone forgets their device. Combining both methods ensures efficiency even when routines change.
Place remote sensors strategically: In multi-sensor setups, put sensors in the rooms that matter most, bedrooms at night, living areas during the day. Avoid placing sensors near windows, exterior doors, or vents, where readings will be skewed by drafts or direct airflow.
Review monthly energy reports: Most thermostats email a summary or display it in the app. Compare month-to-month runtime and look for unusual spikes. A sudden increase in heating runtime, for example, might indicate a failing heat exchanger or clogged filter.
Change HVAC filters on schedule: Smart thermostats remind users when to replace filters based on runtime hours. A dirty 1-inch pleated filter (the most common residential size) reduces airflow, forcing the blower to run longer and cutting efficiency by 10% or more. Standard filters should be swapped every 30 to 90 days, depending on household dust and pet dander.
Adjust for seasonal transitions: In spring and fall, when heating and cooling demands are low, consider widening the temperature deadband (the range between heating and cooling activation). A 3–5°F deadband reduces short-cycling and extends equipment life.
Enable smart integrations: If the home has smart blinds, pair them with the thermostat to close shades automatically during peak sun hours in summer or open them for passive solar gain in winter. These small coordinations compound into meaningful savings over time.
Some top-rated smart thermostats include coaching features that suggest schedule tweaks based on usage patterns, take advantage of those prompts rather than dismissing them.
Conclusion
An Energy Star smart thermostat offers a rare combination of comfort, convenience, and measurable cost savings. Homeowners who pair the right model with proper installation and thoughtful configuration can expect to see lower utility bills within the first month and a full return on investment in under two years. Whether tackling the install as a weekend DIY project or calling in a pro, the key is choosing a thermostat that matches the home’s HVAC system and the household’s lifestyle, and then using its features consistently. Smart technology works best when it’s set up to work for the people living there, not the other way around.